The new version of Intellij IDEA has been released by Jetbrains. By the time i write this article, the version of IDEA that i use is 12.0.1. As a Play 2.1 developer, i got myself feel excited as Jetbrains has announced that the latest IDEA would support Play 2.0. However, the excitement wand off, turned into little bit disappointment as i found the feature came ‘half-baked’. Extra efforts needs to be performed in order to get the feature works on the new IDEA. I’m not sure if most of Play 2.0 developers known this issue and able to resolved it after taking some time to figure out. But in case you are a Player, an owner of Intellij IDEA 12.x copy and still struggling on how to get the feature working properly, i hope this ‘HOW TO’ would help you resolve the issue. Please enjoy, Players.
General steps to install the Play 2.0 supports on IDEA 12:
1. Install & Enable Scala plugin.
2. Install & Enable Play 2.0 support plugins.
3. Restart the IDEA to get the new plugins work.
4. Create Play 2 app configuration.
5. Make & run the Play 2 project using the created Play 2 app configuration.
HOW TO – Install Scala Plugin & Play 2.0 support plugins:
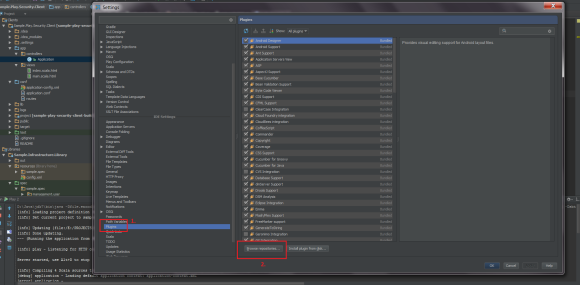
1. Click [File] then [Settings] menu.
2. On the “Settings” dialog, select ‘Plugins’ where is placed under ‘– IDE Settings –’ section.
3. Click [Browse Repositories…] where is placed at the bottom of ‘Plugins’ right side panel.
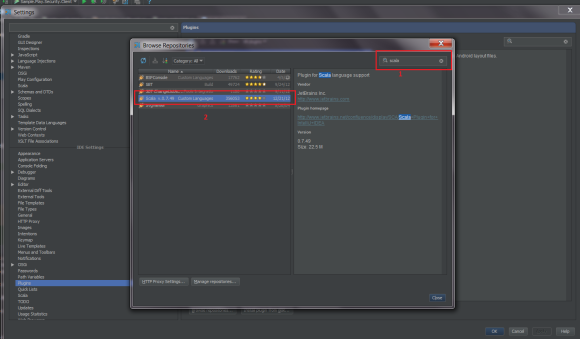
4. On the Browse Repositories dialog, type ‘scala’ in the small search text box where is placed at the righ-top corner of the dialog.
5. The result grid should display an item with name ‘Scala Custom Languages’, double click this item to install the plugin. The plugin’s size is 23 megs, it might take a while for IDEA to download & install it.
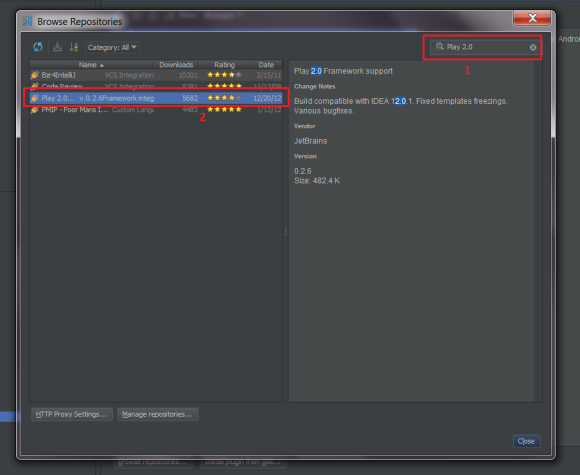
6. To install the play 2.0 plugins, type ‘Play 2.0 support’ in the search text box and double click the result.
HOW TO – Enable play framework support on settings menu:
1. Click [File] then [Settings] menu.
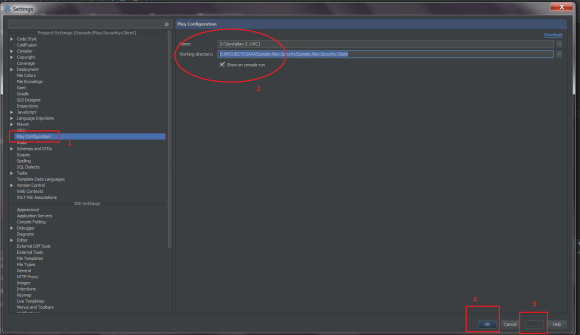
2. Select ‘Play Configuration’ where is placed under ‘–Project Settings [your project’s name] –’.
3. On the Play Configuration panel section, enter the root folder of your play 2.x binaries ( e.g. D:\Java\Play-2.1rc), enter the working directory of your play 2 project (e.g. E:\PROJECTS\JAVA\Demo.Play.SocMed) and tick ‘Show on console run’ option.
4. Click [Apply] and [Ok].
5. Restart your Intellij IDEA & then re-open your play project in the restarted IDEA.
HOW TO – Create Play 2 App Run/Debug configuration:
1. Click [Run] then [Edit configurations…] menu.
2. On the Run/Debug Configurations dialog, click the greenish ‘+’ icon on the top-left corner of the dialog.
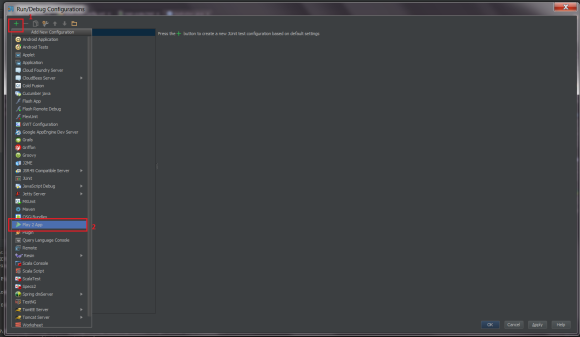
3. Click ‘Play 2 app’ option in the drop down menu. Confirm that a new option ‘Unnamed’ is created under ‘Play 2 App’ section on the left panel.
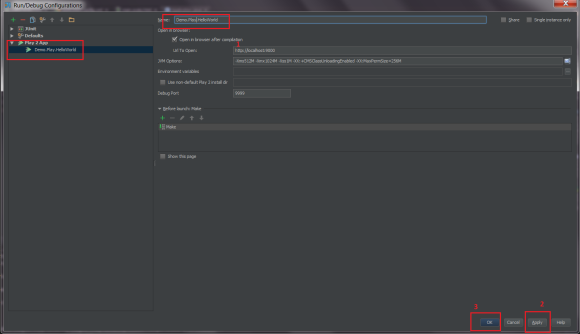
4. Rename the play 2 app config then click [Apply], [Ok].
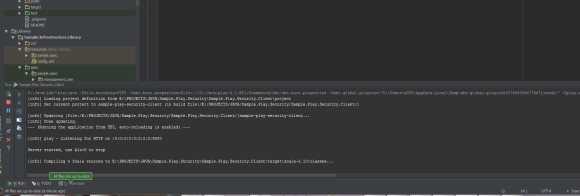
5. Press [CTL+F5] to run the play project or [ALT+F5] to debug play project.

